The Ultimate Hiking Bachelorette Party Guide: Plan an Outdoor Adventure
Introduction
You and your best girls have been to enough bachelorette parties. The sticky-floored bar crawls. The overpriced bottle service. The brutal hangovers that eat into the next day. Are those really the memories you want leading into your wedding?
Iâve planned, attended, and sometimes barely survived more bachelorette weekends than I can count. Some were epic in the wrong way. The ones that actually workedâthe ones people still talk aboutâgot us outside, moving, and laughing until our faces hurt from sun and smiles, not cheap rosé. A hiking bachelorette party isn’t just a trend. For the right group, itâs the most memorable celebration you can pull off.
This guide covers everything: picking a trail that wonât break anyone, packing the right gear (and skipping the nonsense), feeding everyone without a meltdown, handling logistics so the trip runs smooth, and dodging the common mistakes that turn a good idea into a logistical headache. If your crew likes fresh air more than club air, youâre in the right place.
Why Choose a Hiking Bachelorette Party?
Letâs be real about why this works. First, the cost. A night out in a big city burns cash fast. A weekend hiking tripâespecially if youâre camping or splitting a cabinâcosts a fraction of that. The bride saves money. The bridesmaids save money. Everyone wins.
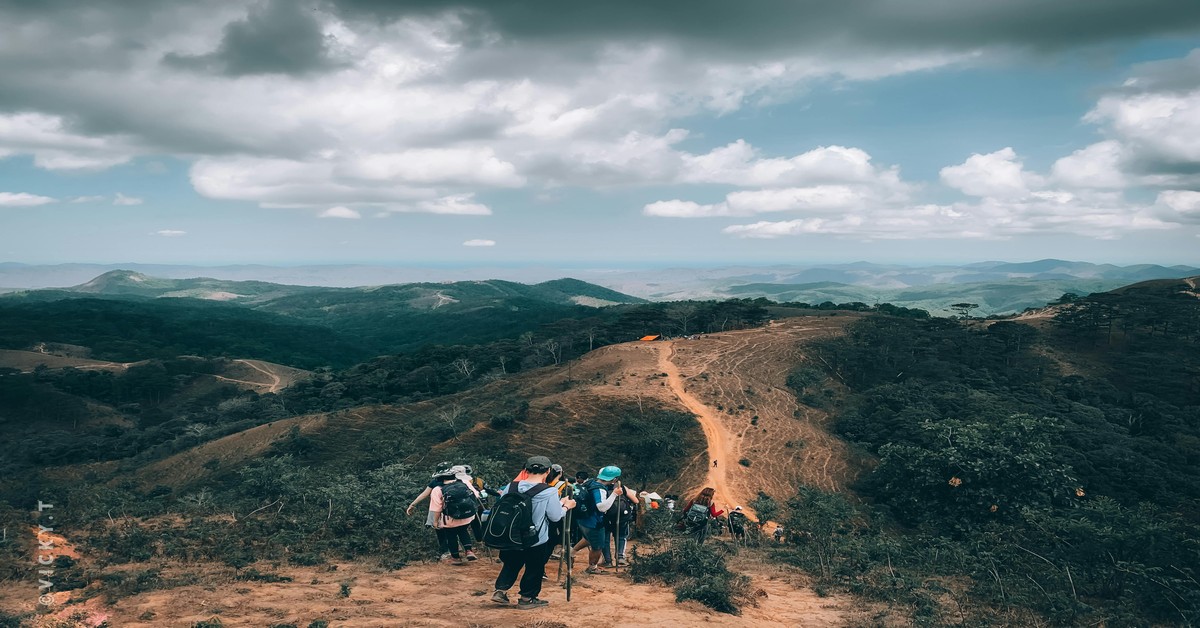
Second, the bonding. Thereâs something about pushing up a trail together that builds a different kind of connection. Youâre not shouting over a DJ. Youâre having real conversations, spotting each other on rocky bits, and sharing that proud moment when everyone reaches the summit. Thatâs the stuff that sticks.
Third, the photos. Natural light, scenic backdrops, and everyone genuinely happy and rosy-cheeked beat a dark bar selfie every time. Youâll get a photo series that actually feels like the brideâs people.
But letâs keep it honest: this format isnât for every group. If half your crew hasnât touched a trail since middle school gym class, or if the brideâs dream is a foam party and bottle service, this isnât the move. But if your group leans active, outdoorsy, or just open to something different, this is your winner.
How to Choose the Right Trail for Your Group
The right trail can make or break the weekend. Pick something too hard and people get miserable. Too easy and it feels like a walk in the park instead of an adventure. Hereâs how to get it right.
Start with distance and elevation gain. A good rule for a bachelorette: keep it under 6 miles round trip with less than 1,500 feet of elevation gain, especially if the group isnât all experienced hikers. Youâre not training for a marathon. Youâre celebrating, taking photos, and enjoying each otherâs company. The trail is the backdrop, not the main event. For groups that need a little help with planning, having a good trail guidebook can make scouting routes easier.
The best advice I can give: choose a trail one difficulty level easier than the least experienced hiker can handle. If your friend Jen hasnât hiked since college, pick a flat, 3-mile loop with a lake at the end. That way everyone feels good and no one feels left behind.
Use AllTrails to filter by difficulty, length, and activity type. Read recent reviews for trail conditionsânothing ruins a day like a washed-out path or a trail that’s overgrown. Call the local ranger station the week before for updates on conditions, closures, and permit requirements. Many popular areas require permits for groups over a certain size.
Hereâs a quick comparison for different group dynamics:
- Best for photo lovers and beginners: A short, scenic trail with a waterfall or lake payoff. Think 2-3 miles, minimal elevation, plenty of stopping points.
- Best for moderately active groups: A moderate 5-mile loop with a summit view. Enough of a challenge to feel accomplished, but not so hard that youâre wrecked for the rest of the weekend.
- Best for adventure seekers: An all-day hike with significant elevation gain, plus a campsite or hut stay. This requires buy-in from the whole group.
- Best for mixed ability levels: A trail with a shorter loop option or a turnaround point for those who want to head back early. Some parks have multiple trails convergingâplan for the group to split and meet for the summit photo.
Essential Hiking Gear: What to Bring and What to Skip
Good gear equals a good trip. Bad gear equals blisters, cold shivers, and regrets. Hereâs the packing list that actually works for a group of bridesmaids hitting the trail.
Footwear, no negotiating: Broken-in hiking boots or trail runners are essential. This is not the day for brand-new boots. Donât be that person. If someone doesnât have hiking shoes, have them buy affordable ones two weeks aheadâand wear them around the house every day. Blisters ruin hikes. Prevention beats treatment. A reliable pair of hiking boots for women is worth investing in early.
Clothing layers: Cotton kills. End of story. Cotton holds moisture and turns you cold. Everyone needs a moisture-wicking base layer (synthetic or merino wool), a mid-layer fleece, and a waterproof outer shell. Also bring a puffy jacket for the summit stop. You might get warm hiking up, but that wind at the top is no joke.
Hydration: A hydration bladder (like a 2L or 3L reservoir in a daypack) makes drinking on the move so much easier than stopping to dig out a water bottle. I recommend Gatorade powder packets for electrolytes. Dehydration is the biggest reason people bonk on easy hikes. on this.
Navigation: Donât rely solely on your phone. Battery dies, service drops. Print a map from AllTrails or buy a paper map from the ranger station. That said, a portable charger is a must for the summit photosâbring a 10,000mAh power bank.
Safety: A small group first-aid kit with blister stuff (moleskin, Compeed), ibuprofen, antihistamines, and sunscreen. Sunburns at altitude happen fast and hurt worse. Many groups find a small group first aid kit a convenient way to cover the basics.
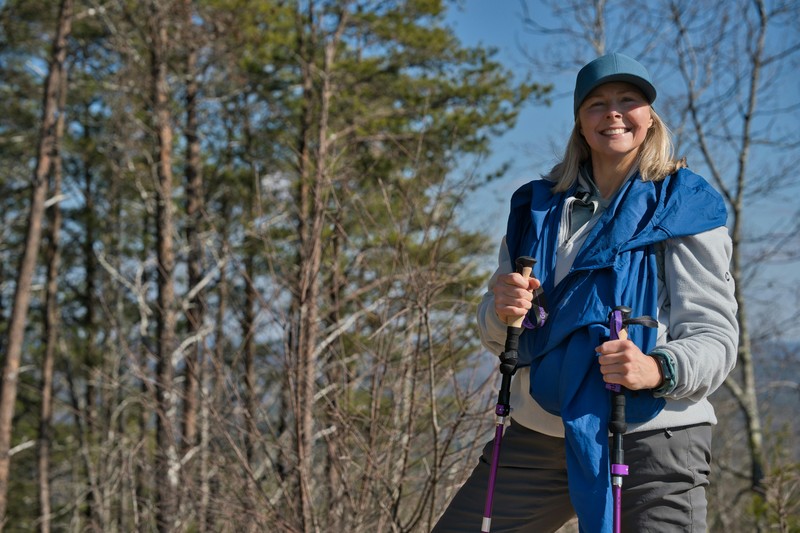
Comfort items: Trekking poles. Seriously. They save knees on the descent, take pressure off, and are a godsend for anyone not used to hiking. Rent them if you canât buy them. A small inflatable sit pad is also worth every ounce for lunch breaks.
What to skip: Heavy makeup will melt and smear. Skip it. Non-breathable leggings or jeans. One guyâs heavy speaker that blasts music on trailâheadphones are fine, but not everyone wants to hear your playlist. And please, skip the hot fashion sneakers with zero treadâtheyâre an injury waiting to happen. Check the weather the morning of and adjust layers accordingly.
Planning the Perfect Itinerary: Balancing Hiking and Downtime
The biggest mistake I see is overpacking the itinerary. Youâre not going on a tour. Youâre celebrating. Hereâs a sample 3-day weekend that actually works.
Day 1 â Arrival Evening: Everyone arrives at the rental (cabin, glamping tent, or house). Keep it low key. Set up sleeping arrangements, have a simple dinner, and review the trail plan for the next day. Do some light stretching. Early bedtimesâno one wants to hike with a hangover.
Day 2 â The Hike Day: Wake up early for a solid breakfast (oatmeal, fruit, eggs, coffee). Hit the trail by 8 AM or 9 AM at the latest. Take plenty of photo breaks. Plan for a trailside lunch around midday. Aim to be back at the trailhead by 2 or 3 PM. Then the real fun begins: showers, rest, and an optional activity like a hot spring soak (if oneâs nearby), a campfire, or just hanging out in the cabin. Dinner can be a cookout or a reservation at a local spot. No forced schedule from here on.
Day 3 â Departure Morning: Easy breakfast, a short sunrise walk if anyoneâs up for it, then pack up and head out. Keep it simple. Avoid squeezing in another hike on departure dayâeveryone has travel logistics and tired legs.
If fitness levels vary, split into two groups on the trail. A faster group takes a longer loop or goes to a viewpoint. A slower group sticks to a shorter section and turns back earlier. Meet back for a designated photo spot at a specific time. Communication is keyâagree on a meet-up time and trail checkpoint before you split.
Meal and Snack Planning for the Trail
Hiking makes people hungry. Hangry hikers ruin a vibe. Plan accordingly.
Trail lunch, no cooking needed: Tortilla wraps with pre-made fillings (peanut butter and jelly, hummus and veggie, or tuna packets if everyoneâs on board). Nuts, trail mix, dried fruit, and energy bars. Bring a soft cooler if youâre keeping anything perishable. I always pack double what I think we needâemergency snacks prevent mood crashes. A bulk bag of trail mix is an easy option to share among the group.
Breakfast before the hike: Oatmeal packs (add dried fruit, nuts, and a pinch of salt), instant coffee, or a portable stove for boiling water. If you have a cabin kitchen, scrambled eggs and toast work perfectly.
Celebratory dinner: If youâre camping, backpacking meals (just add hot water) are the easiestâno cleanup. If you have a cabin with a kitchen, cook a group pasta dish or grill burgers. For a splurge option, book a local restaurant or order pizza delivery to your rental. Pair it with sparkling cider or a bottle of wine for the brideâs toast. A portable camp stove is worth the investment if youâre cooking trailsideâI love my Jetboil for boiling water fast.
Important note on dietary restrictions: Ask everyone before the trip. Vegetarian, vegan, gluten-freeâplan around these. And the Leave No Trace principle matters: pack out all food waste. No apple cores or banana peels left on trail. Bring a sealable bag for trash.
Safety First: Keeping the Group Healthy and Happy
This is where being a responsible planner pays off. Safety on trail isnât dramaticâitâs smart decisions.
Sun protection: High SPF, reapplied every two hours. Sun at elevation burns fast and deep. Hats and sunglasses are mandatory.
Hydration: Every hiker needs at least 0.5 liters per hour of moderate activity. Bring more than you think. Electrolyte tablets or powders help a lot, especially if youâre sweating hard.
First aid basics: Moleskin or blister bandages, ibuprofen for sore muscles, antihistamines for allergic reactions (pollen happens), and a small kit with band-aids and antiseptic wipes. A much-ignored item: a small bottle of hand sanitizer for before eating.
Never hike alone: Even if someone has to pee, they take a buddy. Cell service is spotty on many trails, so establish a check-in systemâdesignate a meeting time and spot. If someone gets hurt or lost, someone else stays with them while another goes for help.
Know when to turn back: This is the hardest lesson for ambitious groups. If the weather turns, someone has a blister thatâs getting worse, or the trail is more exposed than expected, turn around. The summit will always be there. The party wonât be fun if someone is injured, scared, or hypothermic.
Designate a sober hike leader: If you plan to have alcohol at any point, make sure the hike leader (the person navigating and calling the shots on trail conditions) stays sober. Alcohol at altitude hits harder and clouds judgment. Save the drinks for the post-hike celebration.
A quick note on the 10 Essentials: these are the items responsible backcountry travelers carry (navigation, headlamp, sun protection, first aid, extra food, extra water, insulation layers, fire starter, whistle, and repair kit). For a day hike, not all apply, but having a headlamp or flashlight, a whistle, and a lightweight emergency blanket is never a bad idea.
Decor, Themes, and Activities to Make It Special
You donât need a truckload of tinsel and plastic. The best bachelorette touches are small, wearable, and functional.
Matching custom bandanas or hats: These are perfect. They serve a real purpose (sun protection, sweat management, keeping hair out of your face). Plus, they make a great group photo opportunity. Write âBrideâs Crewâ or the brideâs new last name on them. Iâve seen bridesmaids wear matching hiking hats with a subtle embroidered detailâclassy and useful.
Trailside photo scavenger hunt: Make a list of things to find on trailâa heart-shaped rock, a feather, a pine cone, a mushroom, a group jump shot with a view. It keeps everyone engaged and creates hilarious memories. The bride can be the judge of the best photo.
Summit toast: Bring a bottle of sparkling cider or a small flask of the brideâs favorite liquor. Pack some small plastic cups. At the summit, pour a toast. Itâs a moment. Capture it in a photo. Keep the alcohol minimalâhydration is priority.
Bride vs. nature photo series: A funny series where the bride pretends to âconquerâ elementsâwrestling a small boulder, pointing at a distant peak, âfightingâ a tree. Itâs ridiculous and hilarious.
Low-effort vs high-effort themes: Low-effort: a color scheme for everyoneâs outfit (say, earth tones or orange) and matching bandanas. High-effort: a full-on âcamping queenâ theme with camp chair decorations, a special flag for the rental, and a custom trail sign. Only go high-effort if the group is already excited about the outdoor angle. Donât force it.
Whatever you bring, leave the heavy props at home. No oversize photo wall. No giant sash. You will curse yourself hauling it down a trail.
Where to Stay: Cabin, Camping, or Glamping?
Your accommodation sets the tone for the trip. Hereâs the honest breakdown of each option.
Cabins: The most comfortable choice for most groups. You get a kitchen for group cooking, real beds, bathrooms (no awkward hiking toilets), and often a hot tub. Look for cabins near popular trailheadsâsaves driving time. Airbnb, VRBO, and state park rental cabins are the main booking options. Pros: privacy, comfort, easy to split costs. Cons: can be expensive, require advance booking (especially in high season).
Campgrounds: This is the budget option. Youâll need tents, sleeping bags, pads, and a camp stove. Itâs more work but way cheaperâa site can cost $20-40 per night for the group. The bonding is authentic: cooking over a fire, telling stories under the stars, no screens. Cons: you need to pack all gear, deal with weather, and share bathrooms. Only do this if your group is actually into camping. Donât force a non-camper into a tent.
Glamping: The compromise between comfort and outdoor vibe. Yurts, safari tents, canvas cabins with real beds and electricity. Hipcamp has tons of glamping options. You get the nature feel without the full work of camping. Pros: unique, Instagram-worthy, comfortable. Cons: can be pricey, less privacy than a cabin.
Key considerations for group stays: How many shared bathrooms? Can people spread out for quiet time? Noise restrictions (partying in a quiet campground at midnight will get you kicked out). Always book with free cancellation if possibleâweather or group issues can force a change.
Common Mistakes to Avoid on a Hiking Bachelorette
Iâve seen these mistakes more than once. Learn from them so you donât have to.
Mistake 1 â Overestimating fitness levels. Someone always says theyâre âfineâ on paper but struggles on trail. Test the group before the trip. A short hike together a month prior tells you everything. If you canât test, assume a lower baselineâitâs safer and more fun for everyone.
Fix: Pick the easier trail every time.
Mistake 2 â Forgetting to check trail conditions. Snow in June, trail closures, washed-out bridges. Check AllTrails reviews and call the ranger station three days before. Nothing ruins a day like a closed trail or impassable mud.
Fix: Make a backup trail list for the area.
Mistake 3 â Not bringing enough water. One bottle per person on a warm day is asking for trouble. Aim for 1 liter per person per hour of hiking. Thatâs a lot of weight, but itâs essential. Use water filtration systems if thereâs a stream source, but only if the trail is literally next to flowing water.
Fix: Each person carries their own hydration source. Use a reservoir for hands-free drinking.
Mistake 4 â Starting the hike too late. A 10 AM start might seem fine, but in summer, afternoon thunderstorms roll in fast. Start by 7 AM or 8 AM at the latest for any hike longer than a couple hours. Youâll also avoid the heat.
Fix: Set a âtrailhead timeâ and everyone arrives in that window.
Mistake 5 â Planning a hard hike after a night of drinking. This is the classic mistake. Everyone gets a little rowdy at the cabin, has a few drinks, then tries to crush a 6-mile summit hike the next morning. Dehydration, nausea, and regret are the only results. Keep the hike on Day 2 and save the drinking for after the hike.
Fix: Hike first, party second.
What to Do If the Weather Turns Bad
Weather is the big variable you canât control. But you can plan for it.
Check the forecast obsessively 72 hours before the trip. Use NOAA or a weather app with mountain-specific forecasts. If lightning, heavy rain, or high winds are predicted, donât push it. Reschedule the hike to a different day or choose a lower-elevation route with more tree cover.
Signs of incoming storms: anvil-shaped clouds, sudden cool winds, distant thunder. If youâre on the trail and see these signs, turn back immediately. Lightning is a real danger on exposed ridges and summits. Donât be the group that gets caught.
Have a backup plan for bad weather. A scenic drive and a visit to a local winery or a waterfall that requires minimal hiking might be your backup option. A board game afternoon at the cabin is low-key but can be a blast. what matters is to not force the hike if conditions are unsafe. The bride will be happier dry and safe than wet and miserable. Safety over summit. Always.
Budget Breakdown: What You’ll Really Spend
Letâs be straight about costs so there are no surprises. This is a rough estimate for a group of six, excluding travel to the area.
Budget option (day hike + picnic): $0â$20 per person for parking fees. Gear: $0 if everyone already owns hiking shoes and a backpack. Food: $10â$15 per person for a nice trail lunch. Total per person: under $40. This is a great option for a local crew.
Mid-range option (overnight cabin): Cabin rental $200â$400 per night split six ways ($35â$70/person/night). Food and drinks for two days: $30â$50 per person. Gear rental (poles, maybe a filter): $10â$20 per person. Total per person for a weekend: roughly $120â$200.
Splurge option (guided hike + glamping): Guided hike with a local outfitter: $80â$150 per person. Glamping site: $75â$150 per person per night. Food and tips: $50â$80 per person. Total: $250â$400 per person. This is for groups who want a stress-free experience with a guide who handles logistics and interpretation.
As the planner, communicate these costs to the group upfront. No one likes a surprise Venmo request. Be transparent about whatâs included and what isnât. And consider a âgear fundâ if someone needs to buy bootsâbetter to help them out than have them show up in sneakers.
Ready to Plan Your Hiking Bachelorette Party?
A hiking bachelorette party isnât just an alternative to a bar crawlâitâs a better option for the right crew. The planning is real work, but the payoff is a weekend of connection, laughter, and genuine memories that last well past the wedding day.
Start with a solid trail selection, build your gear checklist, and donât overthink the decor. Keep the groupâs fitness level front and center in every decision. Safety, good food, and a flexible itinerary make everything else easy. Youâve got this.
If youâre ready to start shopping for gear or browsing trail options, check out the top-rated hiking gear and best trail finders here.